Imagine this: Your ideal customer lands on your site, finds your awesome freebie, and signs up for your email list. They arrive at the thank you page… and then… they click off.
Because your page wasn’t crystal clear on what they needed to do next, they lost interest and moved on.
You might think it doesn’t matter – that their contact is now on your list, and that was the priority… but in fact, their engagement with your site does matter if you want to have an active and engaged contact. Signing up is just the first step.
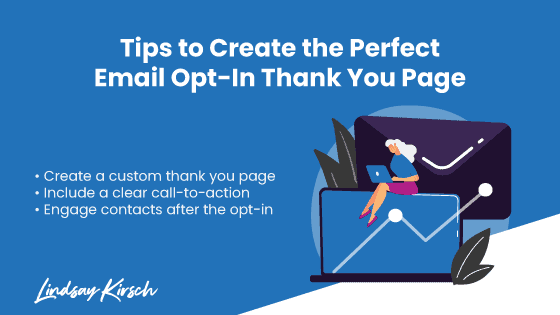
In this article, I’m going to help you design your opt-in thank you page so that your audience takes the next best action and continues to move forward in your customer journey… without getting stuck.
Setting Up the Opt-In
Opts-Ins are a necessary component of any website, especially for list building. However, if the opt-in isn’t set up correctly, it will hurt your processes rather than help them.
If it’s unclear what the next step is – you can wave goodbye to your new lead because they certainly won’t make it there. This is why the thank you page is so critical; it directs the contact to the next best action.

Key Components of a Thank You Page
Confirmation Message
When someone opts in for one of your freebies or offers, ideally, you’d want to redirect them to a custom thank you page for that specific freebie or offer.
This is where you should include a very clear confirmation message thanking the contact for signing up for whatever your offer was while also letting them know their opt-in was successful.
Psst: This applies to post-purchase thank you pages as well. If you’re creating a post-purchase thank you page, check out this post for ways to increase your page’s ROI.
The number one component of a perfect thank you page is the confirmation message. It may seem obvious, but you’d be surprised how often people forget this important detail.
Value Statement
The value statement is going to follow the confirmation message. It will include the “so what” reason why they opt-in to begin with.
You might say something like, “thank you for signing up for the xyz guide so that you can value statement.”
This is going to help your contact get really excited about their new freebie!
In addition to the value statement, you may also include a personalized welcome video to help connect and engage.
Action Statement
The actions statement is what you expect your contact to do next – how to access the resource you have promised.
Note: when possible, I recommend that you send all resources to your contact via email. This helps promote them “looking for” your email, opening it, and clicking. Over time this will help create a positive sending reputation with your ESP.
How to Get Help
The last component of your thank you page is the help section. This can simply be a statement on who to contact or what to do if they have trouble accessing your resources.
Additionally, you may want to include additional resources or links to similar interest content available or bonus materials.

How To Keep Contacts Engaged After Signing Up For Your Opt-In
The final component to think about when creating a successful opt-in is what happens after the contact receives their freebie. What do you want your new subscriber to do after downloading your free resource?
While some people include a second call to action on their thank you pages, I find that can be distracting. Instead, I make sure that every contact that signs up for one of my opt-ins is entered into an email sequence that first welcomes them to my list, and then provides the next possible offer.
Creating a customized email sequence for each of your opt-ins allows your new subscribers to not only get to know more about you and your business but also keep them engaged enough to consider your next offer. An email sequence helps move that contact along the customer journey to the next step.


