Prepping an automation, or series of automations in ActiveCampaign can be intimidating. It always feels like there is some sort of risk! Will it work? Will the right contacts take the correct paths? What if the wrong contacts enter the automation?
In this blog, I’m going to walk you through three ways to test ActiveCampaign automations so that you can feel confident they are working properly.
If you find automations intimidating, this is a great read for you!
What is an Email Marketing Automation?
Email marketing automation is a process that allows marketers to target and send automated emails (amongst other actions such as text messages) to customers based on their behavior.
Automation tools, such as ActiveCampaign, allow you to create these workflows. This allows you to create a more personalized experience for your customers, and can help you increase your email open rates and click-through rates.
When using email marketing tools and automation, it’s important to regularly test your workflows to ensure they are working as expected at all times.
Components of an Automation
Before we get started on testing your automation, let’s first review the core components of an automation.
Automations have three primary components:
- The trigger that sets off the automation to start. A trigger can be anything from a contact taking an action on a website to subscribing to a list.
2. The actions of the automation that happen as a result of the triggering event. This is what happens during the automation and can include sending emails, creating deals, or even updating custom fields.
3. The end of the automation. The end of the automation includes the final action, reaching a goal, sending a contact into another automation, or simply an end node where there are no further actions taken.
Note: it is important to always include the End this automation node on your automations. This will allow your contact records to accurately reflect that they are still in progress, or have completed an automation, which may be important for future reporting or segmentation.
How to Test an Automation in ActiveCampaign
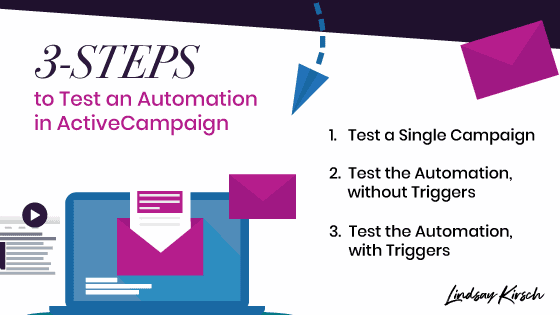
Test a Single Campaign
The first test you will want to perform is to test any single email campaign within your automation.
From the automation, select and edit your email. Within the editor, Send a Test Email.
The default address in the test email box is usually your own. I highly suggest using a different email set up specifically for testing.
Hint: do you know about Google’s secret way to create a test email account? Click here for more details!
When checking this email, you should open the email using your test email account, in a private browser window. This will allow you to ensure all links within the email are properly working.
For more information on how to test your single campaign and what specific details to look for, check out my Testing Your Campaign.
Test the Automation, without Triggers
Once you have confirmed that your campaigns are set up properly, you will want to test them as part of the automation.
To do this, you should first remove any trigger events on your automation (1). Then, you can turn the automation to Active (2).
By doing this, you can now test the automation as if the automation is live without having actual users enter the automation.
From here, you can open your test contact account, select Add next to automations (1) and manually add them to the automation (2).
Once your contact is in the automation, you can click the name of the automation and then click view to see the progress of the contact in the automation.

Hint! One of my favorite features of ActiveCampaign is the ability to skip wait steps when testing an automation. Watch the video below for details!
[Video] How do I skip wait steps when testing an automation? – ActiveCampaign Help Center
Test the Automation, with Triggers
The last step when testing your automation is to add the trigger back in and then put another (different!) test user into the automation.
Ideally, you will add have your next test user enter the automation the same way your regular contacts will enter, such as by an opt-in sign-up or a product purchase.
Using the skip wait steps feature, you can push this user through the automation for the second round of testing.

Launch and Monitor
Once you have tested your automation with triggers in the same way that your contacts will enter, you are ready for your contacts!
During the first few weeks of your automation, daily check-ins will allow you to monitor the flow of contacts, queues, and paths.
Hint! When viewing active automation, you can view the details of your contacts by selecting the queue button. From here, you can check out the path that particular contact has taken by selecting the automation from their contact record and then view.
How Frequently Should You Test Automation?
The frequency in which you test your automations is really dependent upon your business and the number of contacts entering your workflows.

At most, I recommend automations being tested quarterly, but more active accounts (1,000+ contacts going through the automation each month) should consider testing monthly, if possible.
You can make testing easier by creating a test script so that anyone on your team can follow along and appropriately test your automations.
For any one-time automations, such as a promotion, you should always test the automation before going live.
Once you are confident that your automation is functioning properly, you can add additional features such as predictive sending to ensure that your campaigns are sent to the right contact at the right time.
Always Test…and Test Again!
By following these tips, you can test your automations and feel confident that they are working properly.
Automating your marketing doesn’t have to be daunting – it can actually be a lot of fun! The more confident you become in your automations, the more sales and leads you will see come through your pipeline.


